|
INGREDIENTS: • ¼ cup ricotta cheese • 4oz cream cheese, softened — about half a pack • 1/4 cup powdered sugar plus 2 tbsp more for presentation — sometimes called confectioner’s sugar • ½ tsp cinnamon • ½ cup mini chocolate chips To Make Filling: 1. In the bowl of a mixer or using a hand mixer or food processor, beat all ingredients except the powdered sugar until light and fluffy 2. Mix in the chocolate chips by hand using a spatular or big spoon 3. Keep the filling cool in the fridge (covered) until you’re ready to fill your hamantashen — can be made up to 2 days in advance! 4. Dust with the extra powdered sugar just before serving for that classic “cannoli” look
0 Comments
INGREDIENTS:
• Pizza dough — can use homemade from the recipe included or store bought. You can also ask to buy some dough at your favorite pizzeria and they’re usually happy to sell you some! • Mozzarella cheese — I love to use fresh mozzarella chunks, but shredded is fine. Or even a different cheese as long as it has a good melt factor • Marinara sauce — can use homemade or a jar of your favorite brand • Fresh basil (optional) To Make Pizzatashen: 1. Preheat oven to 400 degrees Fahrenheit and line your baking sheet(s) with parchment paper 2. Cut or tear your pizza dough into smaller pieces, and flatten with a rolling pin 3. Place pieces of dough on baking sheets and add 1-2 teaspoon of sauce to the middle of each dough round. 4. Top with cheese (and you can also add other topping like anchovy, garlic, mushroom etc) 5. Pinch the dough at three points to create the three corners of the hamantashen and .make sure to pinch tightly to properly seal the corners so no spillover 6. Bake until dough is cooked and cheese is melted, about 15-20 minutes 7. While the pizzatashen are baking, roll your basil leaves together and chop into fine strips to garnish your pizzatashen while they’re still hot. Yum! INGREDIENTS:
• 1 cup very warm water • 1 tbsp sugar • 1 tbsp active dry yeast • 1 tbsp olive oil • 2 - 2 ½ cups AP flour • 1 tsp salt To Make Dough: 1. Use a big bowl as the dough will rise a bit! 2. Put warm water into a large mixing bowl, then add sugar and yeast — this will help “bloom” the yeast as it eats sugar 3. Stir to combine, then let it sit for at least 5-10 minutes, or until it becomes frothy and small bubbles start to appear 4. Add the olive oil and stir again to combine 5. Add 2 cups of flour and salt and mix with a big spoon or spatula until a ball begins to form. Don’t worry about the dough being sticky! 6. If needed, add more flour until a ball begins to form 7. Move your ball of dough to a flat surface, cover with a dusting of flour and knead until the ball becomes smooth 8. Let your dough rest for at least 10-15 minutes (but not the end of the world if you don’t!) INGREDIENTS:
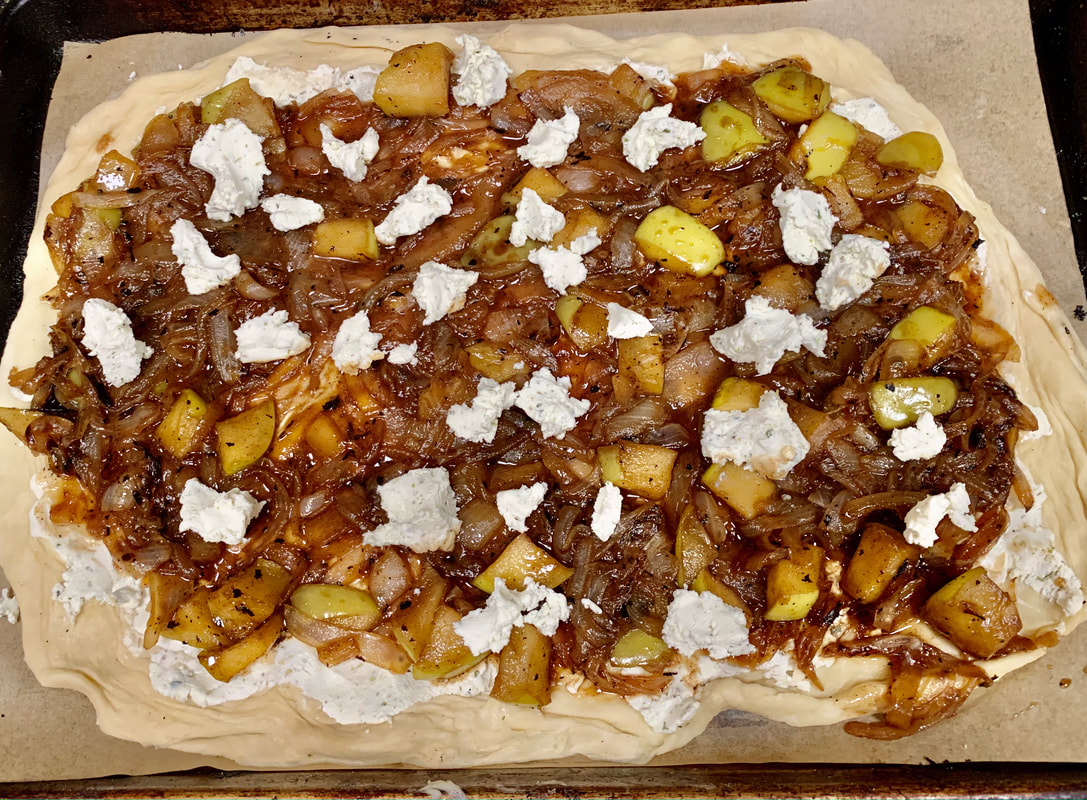
• 4 eggs • 1 cup butter, about 2 sticks (or margarine or vegetable oil) • 1 1/4 cups sugar • 2 teaspoons vanilla • 3 teaspoons baking powder • 5 1/2 to 6 cups flour To Make Dough: 1. Mix together the eggs, margarine, sugar and vanilla in a bowl 2. In a separate bowl, sift together your baking powder and flour 3. Add your dry ingredients to your wet ingredients and lightly mix just until it comes together into a dough 4. Empty the dough onto a flat, floured surface and knead until smooth 5. If you’re using butter — refrigerate your dough for at least 1/2 hour and up to 3 hours, but if not, you can use this dough right away To Make Hamantashen: 1. Roll out the dough very thin, about 1/8 inch but use your best judgement 2. Cut out circles from the dough (Tip: you can use a water glass for an easy measure!) 3. Put a dollop of your filling in the center of each circle but be careful to not overfill, especially with fruit/jam fillings! 4. Fold or pinch the three sides over the filling to make a triangle with the filling exposed in the middle 5. Bake at 350 degrees for 12-15 minutes for — might need an extra couple of minutes for the savory hamantahshen 6. Let cool for at least 5 minutes (not only so you don’t burn your tongue, but also to let the hamantashen retain its shape better when eating On September 1st, J2Food hosted a special Rosh Hashanah cooking class. Chef Jon of J2Food lead us in an interactive cook along where we made a couple of classic Rosh Hashanah-themed dishes with a modern twist! Couldn't make it? Don't worry -- we recorded the whole class and you can follow along by watching the video below (or checking it out on YouTube) and you'll find the recipes below. Let us know how yours turn out :) Wishing you all a Shana Tovah! See you in 5782! This savory tart is perfect for a light dinner with a green salad or as a fabulous dipper in your favorite fall soup. Feel free to substitute for your favorite flavor pairing: pears and gruyere, roasted tomato and ricotta, or even something funky like roasted Brussel sprout, apple and blue cheese. Yum! 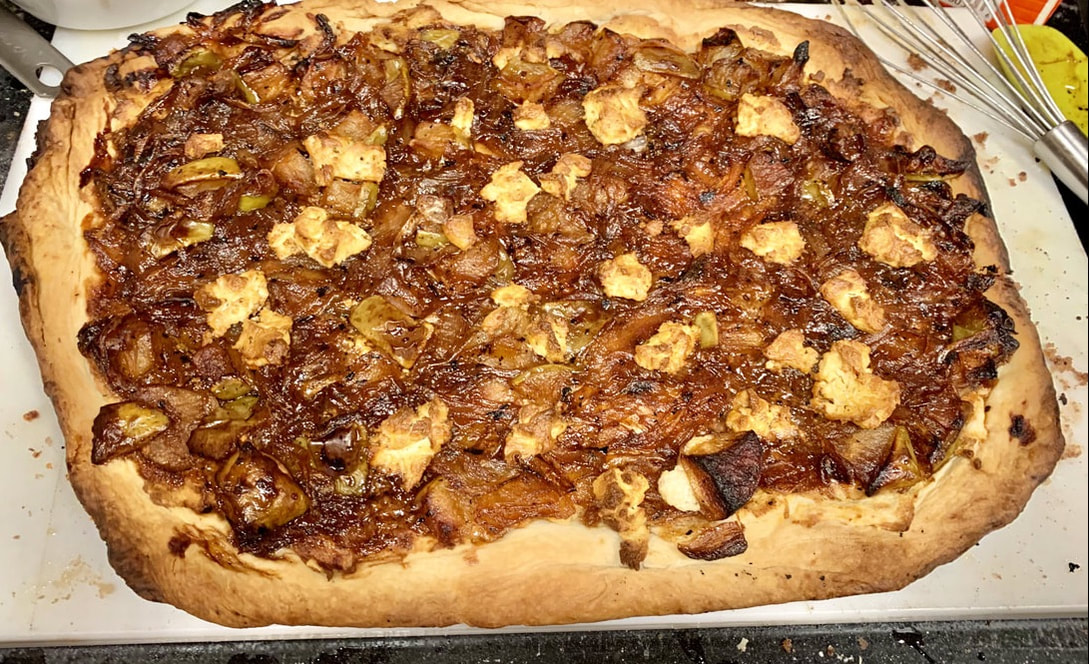 For the Caramelized Onion-Apple Compote: Ingredients
Directions
For the tart dough -- very versatile! Ingredients:
Directions:
 To Finish the Tart:
Directions:
Ingredients
Directions
 INGREDIENTS
DIRECTIONS:
Enjoy with a simple green salad for a delicious midweek dinner or as a side. Yum! Tip: want to make this dish healthier? Add some broccoli or spinach to the cheesy noodle mixture. Mmm 😋 This dough is super easy and doesn't need to be chilled for more than 15 minutes. Plus, it pairs perfectly with both savory and sweet fillings. Happy Purim!
Ingredients:
To Make Dough:
To Make Hamantashen:
 Ingredients:
Directions:
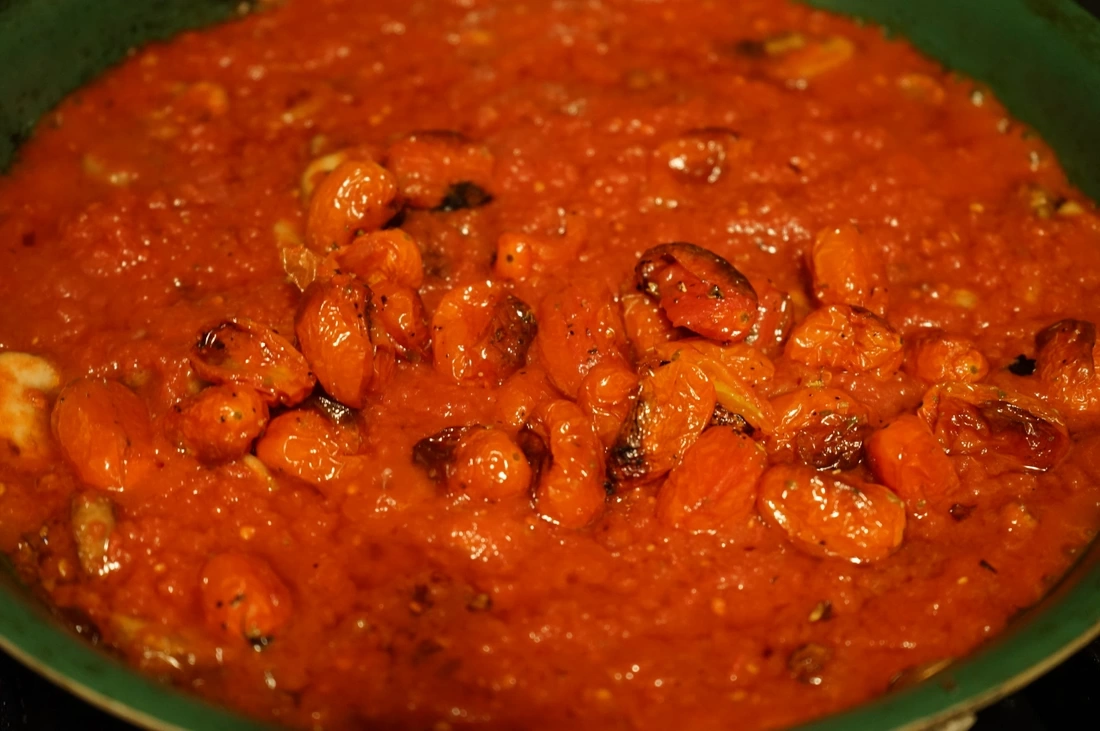
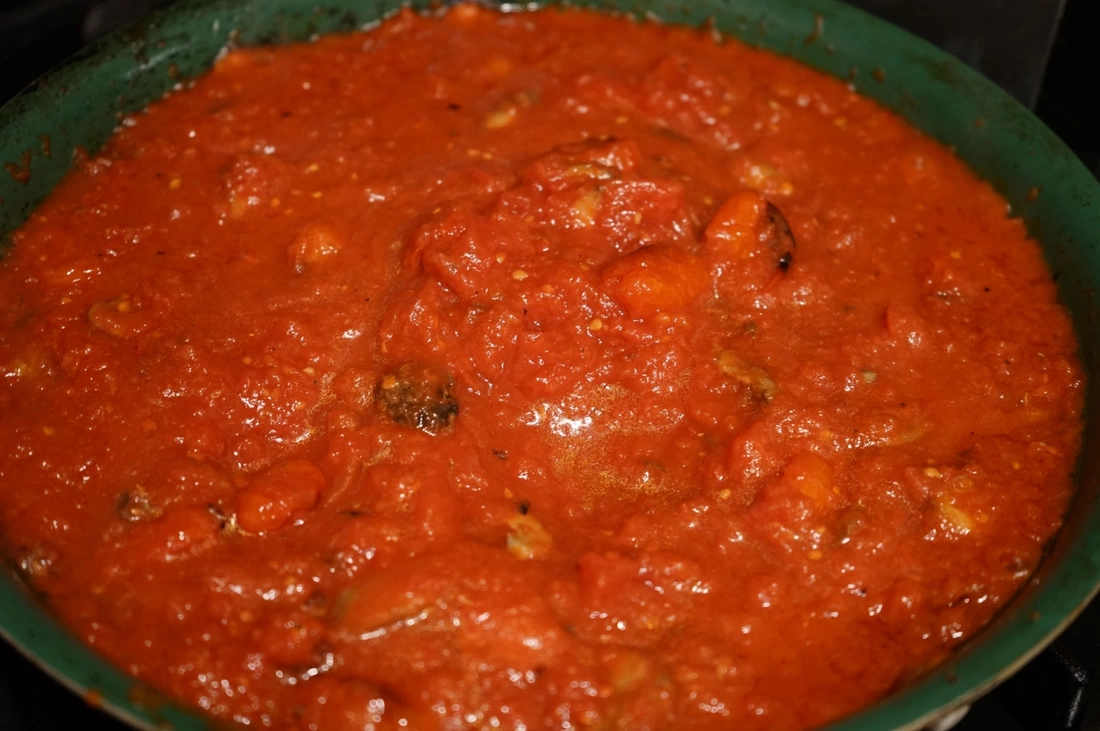
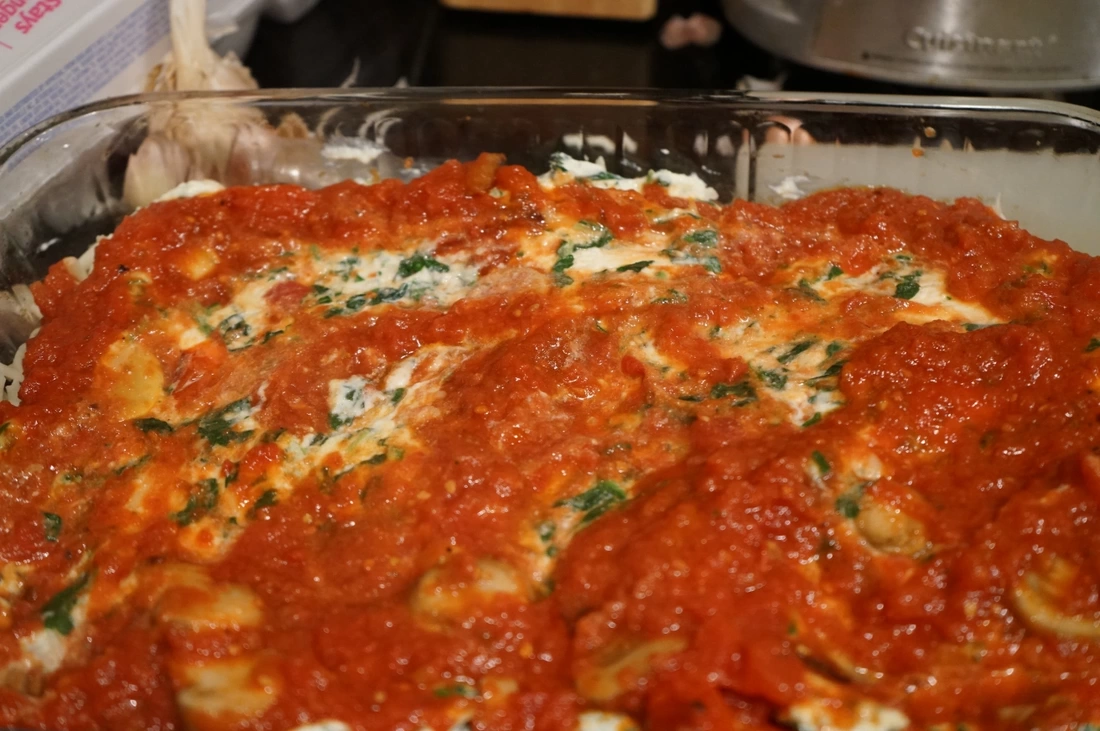
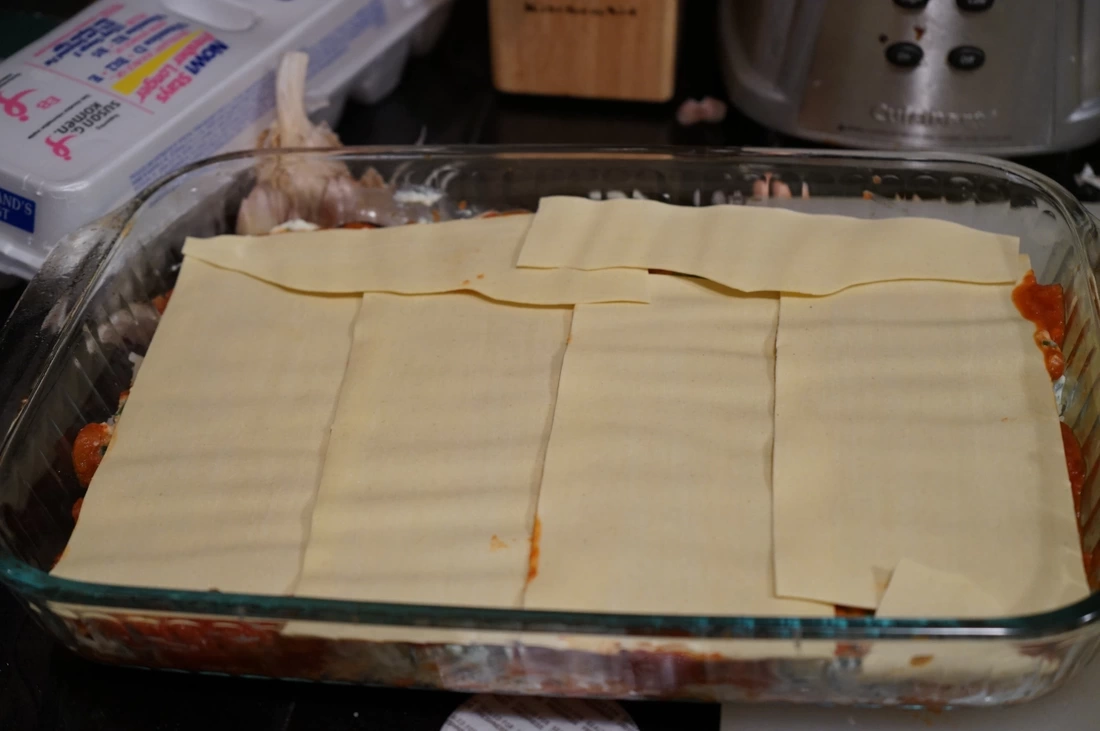
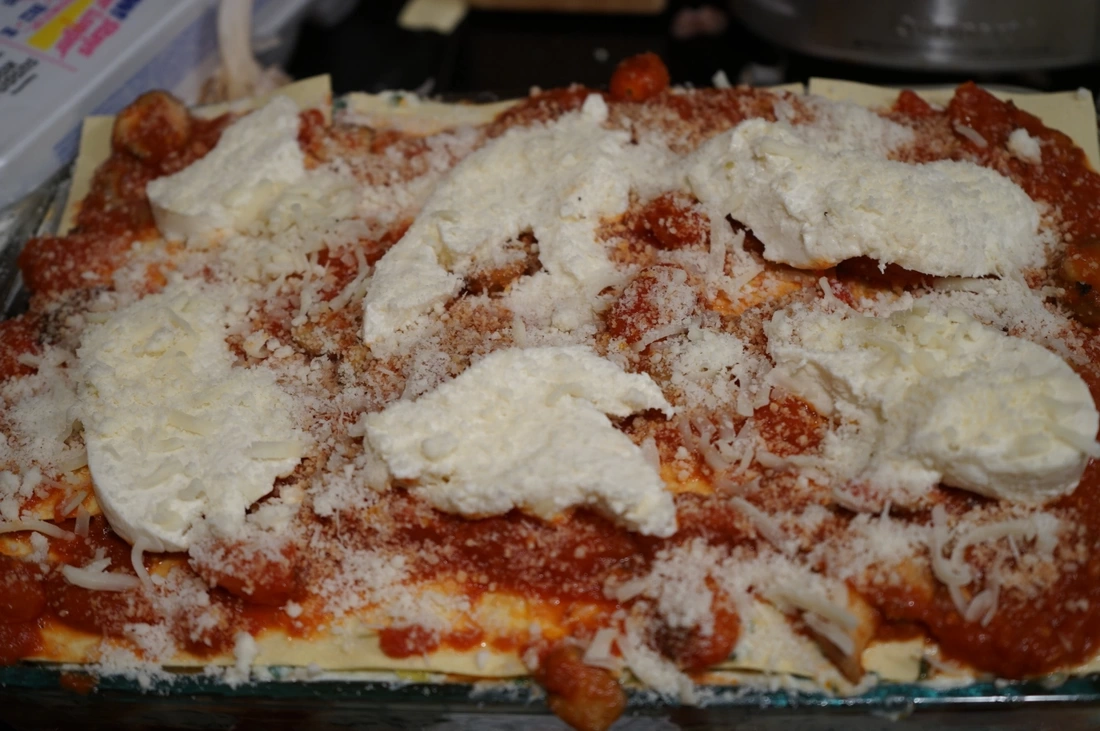
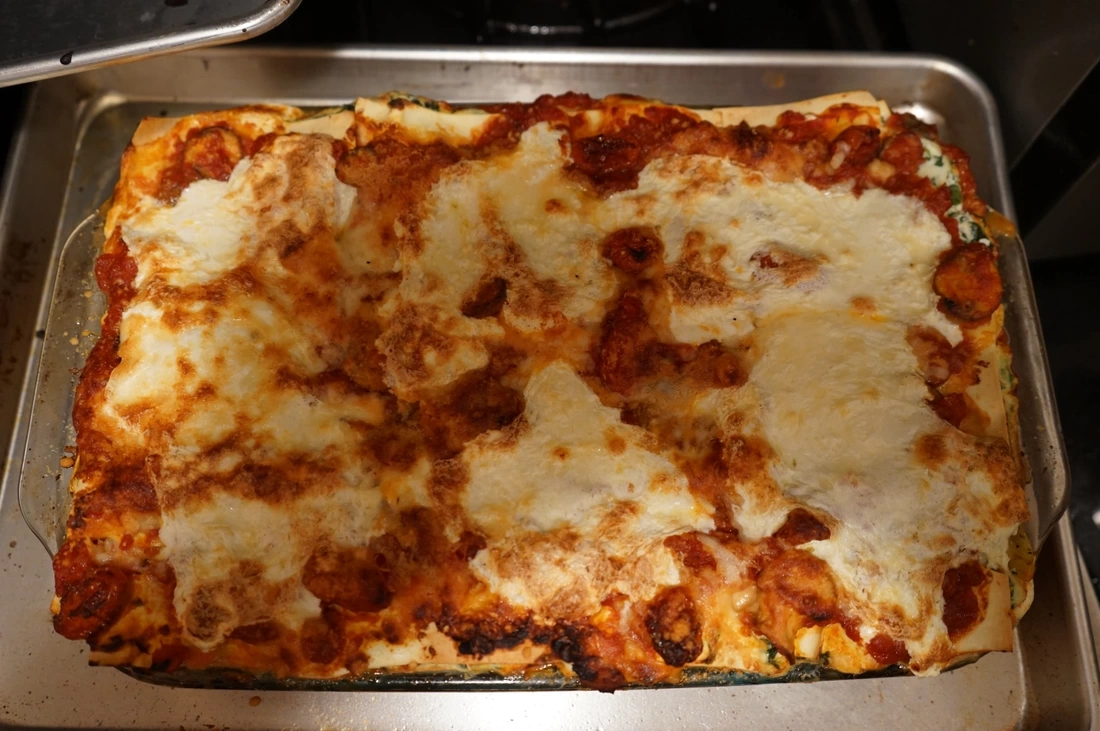
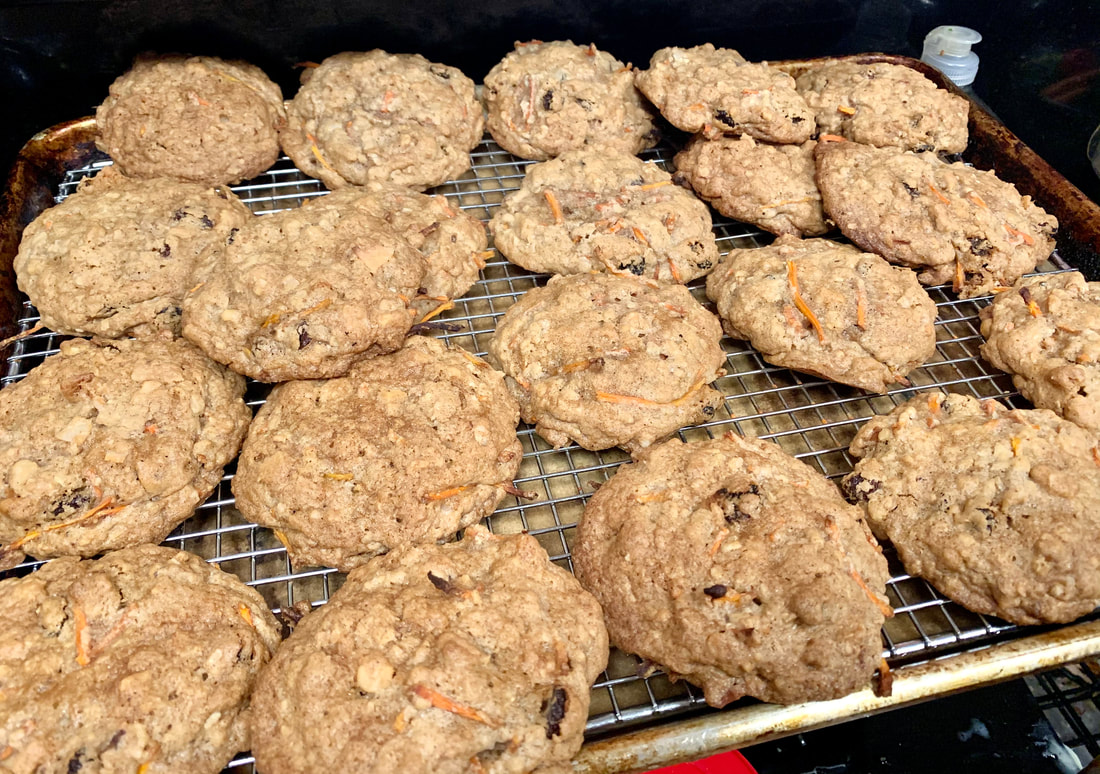
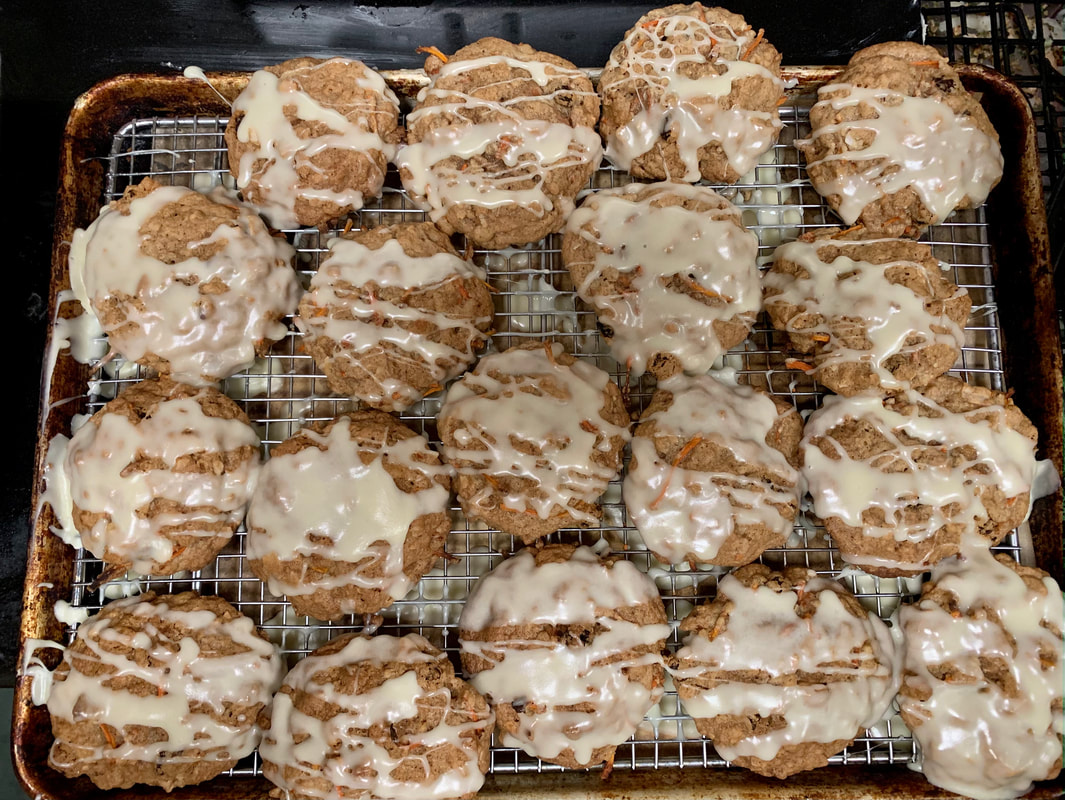
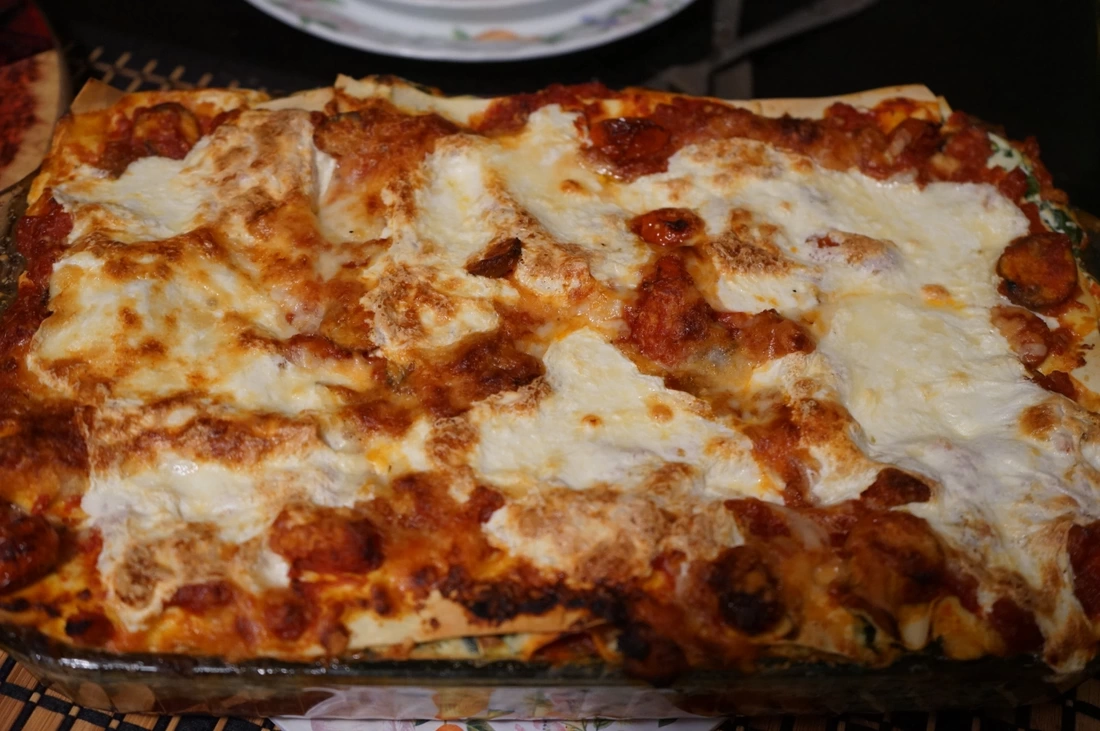
Also, this makes for a pretty saucy lasagna, but if you want you can reserve some extra sauce and spoon it over the top of each piece as it’s served, and garnish with some extra parmesan. Now who wouldn’t want a piece of that beauty? Buon Appetito!  INGREDIENTS FOR COOKIES
CREAM CHEESE ICING
DIRECTIONS
These cookies won't last long so remember to put some aside for yourself! For our next episode of Cooking Under Quarantine, we'll be making another wondering Fall dish — chicken pot pie! This is one of my personal favorites, and this version features festive fall flavors and is wonderful for the cooler weather. The filling is made with roasted root vegetables and tender chicken, with a homemade crust. This dish comes together very easily and is very versatile and adaptable to what you have in your pantry and fridge. So follow along with Chef Jon, and let us know how yours turns out! Ingredients:
Equipment:
Directions:
Serve hot (if making later freeze or refrigerate the pot pie after putting on the top crust on and bake at same temp for an additional 15 min). Enjoy! For our next episode of Cooking Under Quarantine, we'll be making one of my favorite Fall dishes -- Moroccan Chicken Tagine. While my version of this classic Moroccan dish isn’t actually cooked inside of a tagine pot, but it echoes a lot of the flavors that I love when I ordering tagines at Moroccan restaurants — a little bit sweet, salty, sour, savory and the protein is always fall apart tender. It’s very comforting as the weather turns colder, and is also great to make in the slow cooker! So follow along with Chef Jon, and let us know how yours turns out. Ingredients:
I served this dish with some lemeon couscous, herb roasted tomatoes and some crusty bread to mop up the sauce. It was a big hit! My family is celebrating my brother’s upcoming marriage with a small, outdoor wedding. But, I wanted to share the recipes for what we’ll be eating with you, so that you can recreate those flavors at home! So follow along with Chef Jon in the video above (or on YouTube HERE) or by following the recipe below, as we make Pistachio-Coconut Crusted Salmon with an Arugula-Pistachio Pesto and Grilled Corn, Tomato and Avocado Salad. Perfect for a summer celebration! Pistachio-Coconut Crusted Salmon
Ingredients
Arugula-Pistachio Pesto Ingredients
Grilled Corn, Tomato & Avocado Salad Ingredients
Welcome to another episode of “Cooking Under Quarantine” — maybe we should rename this series to Cooking Under Semi-Quarantine as things slowly reopen? In this video, we’ll be making Thai chicken curry featuring delicious aromatic veggies, chicken and a coconut-curry base. Yum! Follow along with Chef Jon and let us know what else you’d like to cook! Ingredients:
|